Summary of the Article
Caramelize Crème Brûlée: In this comprehensive guide, we’ll embark on a culinary journey to master the art of caramelizing the top of crème brûlée. From the rich history and cultural significance of this beloved dessert to the intricate science behind achieving that perfect golden crust, we’ll cover all the bases. We’ll delve into the essential ingredients and tools, share step-by-step techniques, and sprinkle in some advanced tips and tricks to elevate your dessert game. Whether you’re a seasoned chef or a curious beginner, this article promises to enrich your understanding and skills in creating the quintessential crème brûlée.
Part 1: Introduction to Crème Brûlée
The Essence of Crème Brûlée
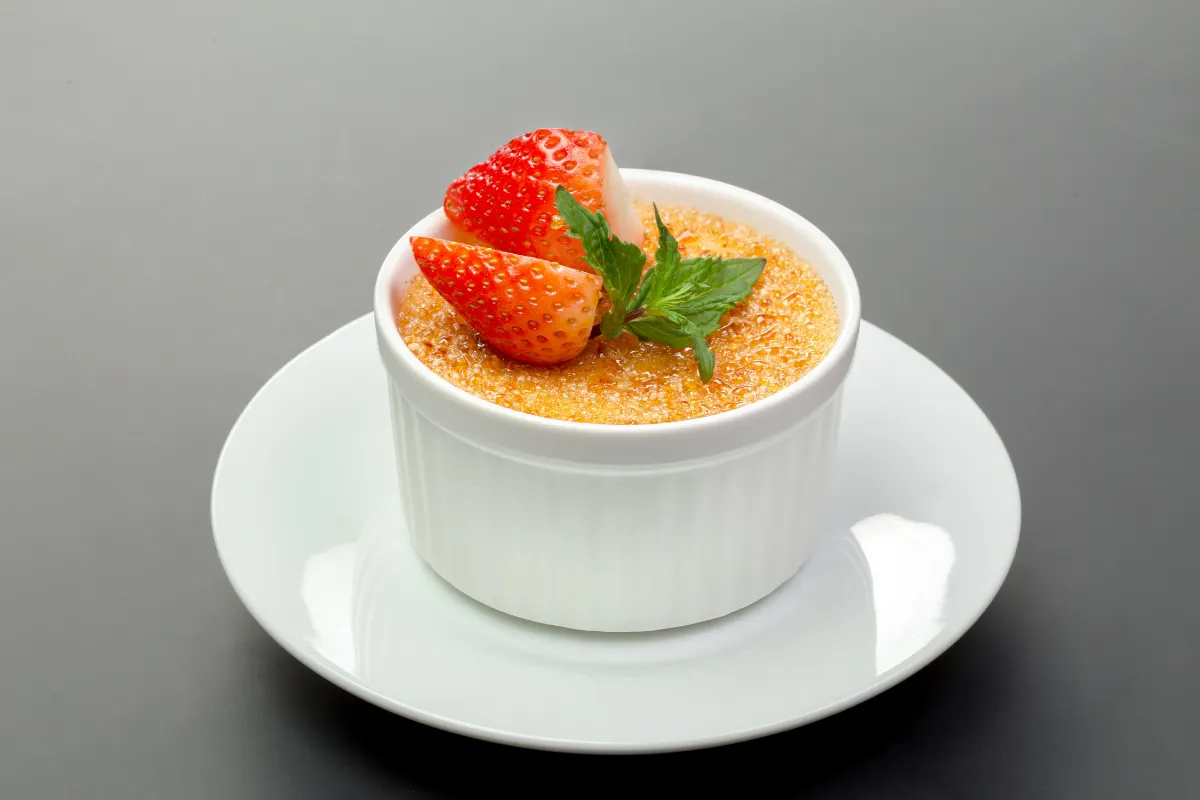
Ah, crème brûlée! Just the name itself evokes images of elegance and indulgence. This classic French dessert, known for its rich custard base and contrasting caramelized top, has captivated the hearts (and taste buds) of dessert lovers worldwide. But what’s the story behind this culinary masterpiece?
Originating from the grand kitchens of Europe, crème brûlée has a history as rich as its flavor. Some say it first appeared in France, while others claim England or Spain as its birthplace. Regardless of its origins, one thing’s for sure: crème brûlée has become a symbol of sophisticated dining.
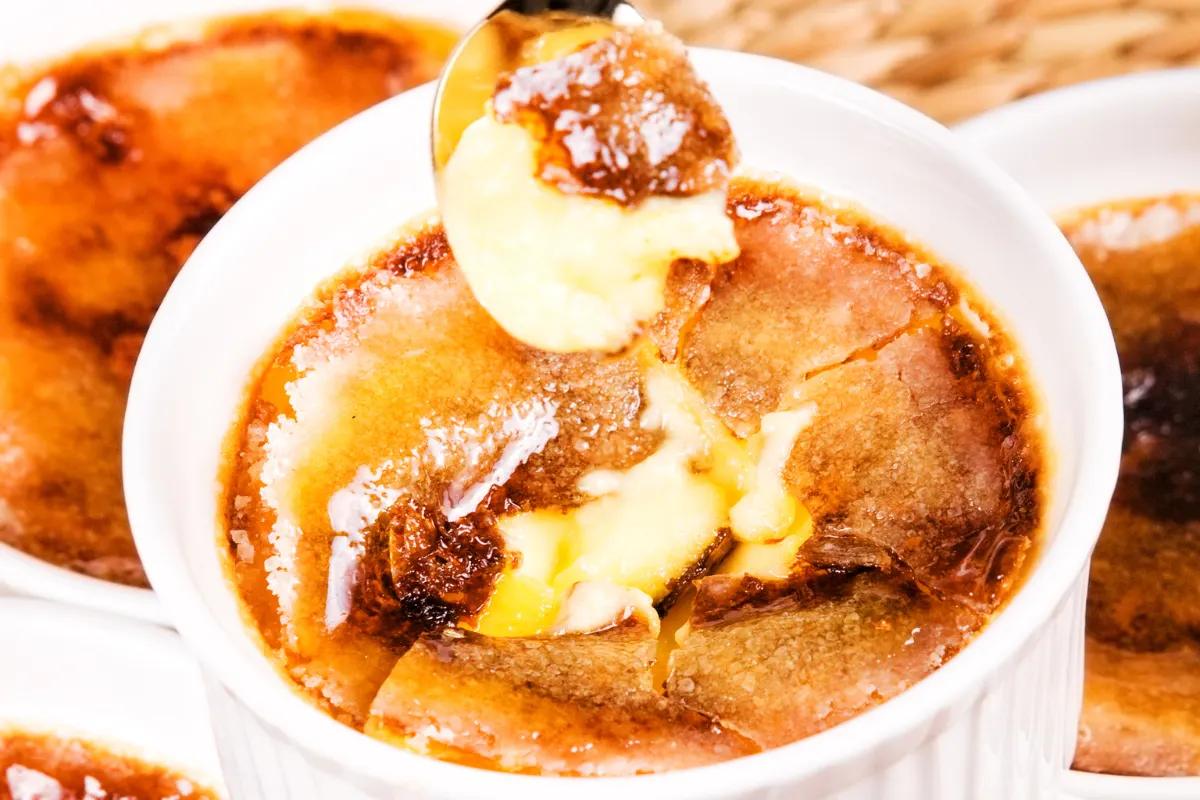
Beyond its luxurious taste, crème brûlée holds a special place in the world of desserts for its unique texture contrast. The moment your spoon cracks through the brittle, caramelized sugar top to reach the silky custard beneath is nothing short of magical. It’s this delightful interplay of textures that sets crème brûlée apart from other desserts.
Why the Caramelized Top Matters
Now, let’s talk about the crowning glory of crème brûlée: the caramelized top. This golden, crispy layer is not just a treat for the eyes but also an essential component of the dessert’s allure. Achieving the perfect caramelization is both an art and a science, requiring precision and a bit of culinary flair.
The caramelized top does more than just add a crunch; it introduces a complex flavor profile that complements the creamy custard. The slight bitterness of the caramel contrasts beautifully with the sweet, vanilla-infused custard, creating a harmony of flavors that dance on the palate.
In the following sections, we’ll dive deeper into the techniques and tips for mastering this crucial element of crème brûlée. So, grab your aprons, and let’s get ready to transform your kitchen into a gourmet dessert studio!

Part 2: Ingredients and Tools
Key Ingredients Explained
Diving into the world of crème brûlée, it’s essential to start with the basics: the ingredients. At its core, this dessert is a symphony of simplicity, relying on just a handful of components to create its iconic taste and texture. Let’s break it down, shall we?
First up, we’ve got cream—rich, luscious, and the backbone of our custard. Opting for high-quality cream is a game-changer, as it lends the custard its velvety texture and depth of flavor. Next, egg yolks step into the spotlight, acting as the thickening agents that give the custard its body and luxurious mouthfeel.
Sugar, sweet sugar, is next in line. It’s not just there for sweetness; it’s a crucial player in the custard’s texture and, of course, in forming that divine caramelized crust. Last but not least, vanilla adds an aromatic elegance, infusing the custard with its warm, floral notes. A real vanilla bean can elevate your crème brûlée from great to extraordinary, so don’t skimp on this one!
Essential Tools for the Perfect Caramelization
Now, let’s gear up! The right tools can make or break your crème brûlée experience. At the heart of our toolkit is the culinary torch, a gadget that might seem intimidating but is truly a game-changer for achieving that flawless caramelized top. A quick and even sweep of the flame will turn your sprinkled sugar into a glistening, golden crust.
No torch? No problem! A broiler can also get the job done, though it requires a keen eye to prevent the sugar from burning. Besides these, you’ll need ramekins (those cute little ceramic dishes) that withstand high temperatures and a Bain-Marie setup (a fancy term for a water bath) to cook the custard gently and evenly.
With your ingredients lined up and tools at the ready, you’re all set to embark on the culinary adventure of making the perfect crème brûlée. Stay tuned, as we’ll soon dive into the nitty-gritty of the custard preparation and the thrilling caramelization process.

Part 3: The Culinary Technique
Preparing the Custard Base
Alright, folks, it’s time to roll up our sleeves and get down to the heart of crème brûlée—the custard base. This is where the magic begins, and trust me, it’s simpler than you might think! The key here is patience and attention to detail.
Start by gently heating your cream and vanilla until it’s just about to simmer. This is where the flavors begin to mingle and dance. Next, whisk your egg yolks and sugar until they’re just right—pale and thick. This isn’t a race; take your time to achieve that perfect consistency.
Now, here comes the crucial part: tempering the eggs. Gradually add your hot cream to the egg mixture, whisking constantly. We’re talking a slow drizzle here, folks. This step is all about preventing those yolks from scrambling and ensuring a smooth, even custard.
Once combined, strain the mixture to catch any rogue bits, then pour it into your ramekins. The Bain-Marie awaits! Gently place your ramekins in a baking dish, fill it with hot water halfway up the sides of the ramekins, and bake until the custard is set but still a tad wobbly in the center. Patience, my friends, is the secret ingredient here.
Mastering the Caramelization Process
Now, for the grand finale—the caramelization. This is where your culinary torch (or broiler) comes into play. Sprinkle a thin, even layer of sugar atop each custard. Then, with a steady hand and an even steadier flame, caramelize the sugar until it’s a beautiful, amber hue. Remember, we’re looking for that perfect balance between sweet and slightly bitter, so keep a close eye to avoid burning.
If you’re using a broiler, keep those ramekins moving to ensure an even caramelization. It’s a bit like a dance, really—back and forth, until that sugar crust is just right.
And there you have it, the moment of truth. That first tap with the spoon, breaking through the caramelized sugar to reveal the creamy custard beneath, is what crème brûlée dreams are made of. Congratulations, you’ve just mastered one of the culinary world’s most elegant desserts!

Part 4: Advanced Tips and Tricks
Achieving the Perfect Thickness for the Sugar Layer
Now that you’ve got the basics down pat, let’s sprinkle in some advanced tips to elevate your crème brûlée game. First up, let’s talk about that sugar layer. It might seem like a small detail, but it’s the stage for that satisfying crack we all love. The trick? Keeping it thin and even. A thick layer might seem tempting, but it can lead to an overly hard crust that’s tough to break through, overshadowing the delicate custard beneath.
Experiment with different sugars to find your sweet spot. While white granulated sugar is the go-to for its neutral flavor and melting properties, others like demerara can add a subtle molasses note. Just remember, the finer the sugar, the more evenly it will melt and caramelize.
Creative Variations and Flavors
Who says you have to stick to vanilla? Crème brûlée is like a blank canvas, waiting for your creative touch. Infuse your cream with anything from lavender to citrus zest, or even swap out the vanilla for almond extract. The possibilities are as boundless as your imagination.
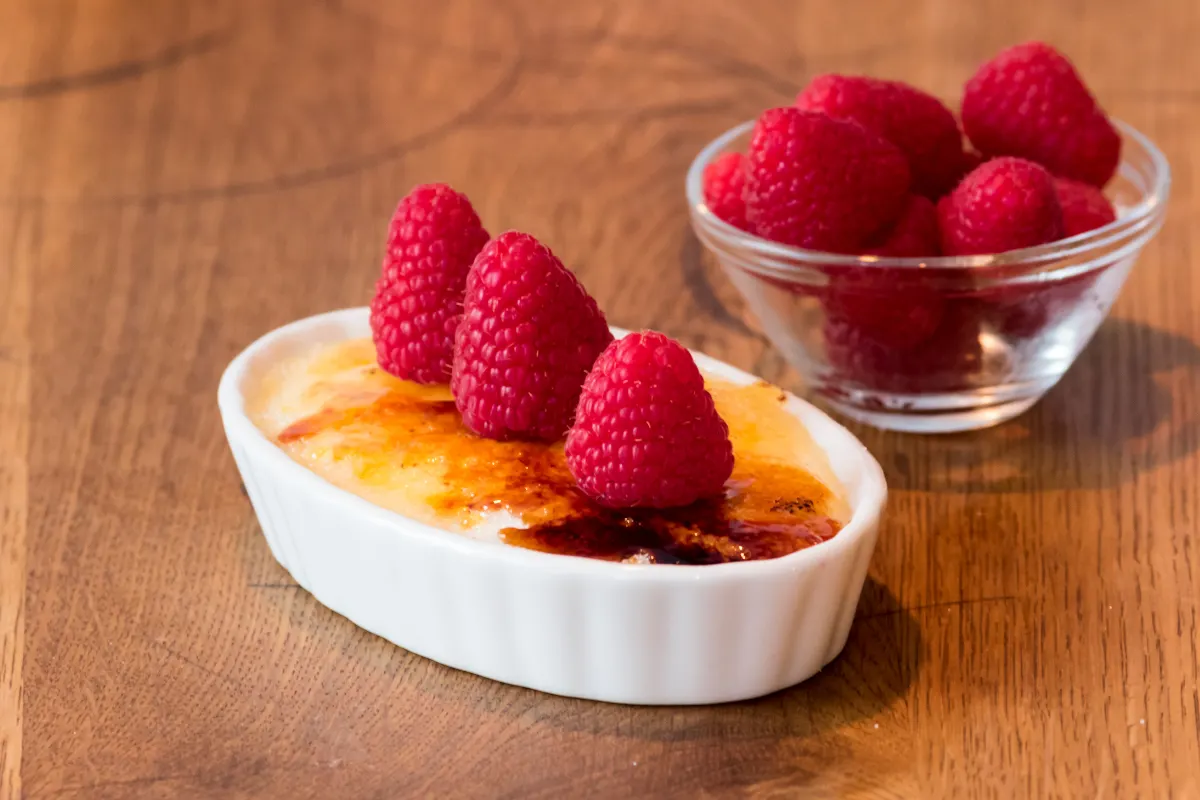
And why stop at flavoring the custard? Consider topping your crème brûlée with fresh berries, a sprinkle of sea salt, or even a dash of spice for a surprising twist. These little garnishes not only add a pop of color but also introduce new textures and flavors that can take your dessert from delightful to unforgettable.
Remember, the key to a great crème brûlée lies in balance and harmony. Whether you’re playing with the sugar layer or introducing new flavors, always aim to complement the custard’s creamy sweetness without overwhelming it.
Part 5: FAQs (Based on ‘People Also Ask’)
Can I Caramelize Without a Torch?
Absolutely! While a culinary torch gives you more control and an even caramelization, your trusty broiler is a perfectly fine stand-in. Just remember, broiling requires a vigilant eye. Place your sugared crème brûlées under the preheated broiler, and watch them like a hawk. Rotate them if necessary to ensure an even caramelization. It’s a bit of a dance, but the results can be just as spectacular.
How to Fix a Runny Crème Brûlée?
Runny crème brûlée got you down? Don’t fret; it’s usually a sign that it needed a bit more time in the oven. The custard should jiggle just slightly when gently shaken; if it’s more liquid than jiggle, give it a few more minutes. Remember, it will continue to set as it cools. If you’ve already chilled it and it’s still runny, consider serving it as a luxurious custard sauce over fresh fruit or cake—turn that oops into a yum!
Best Sugar for Caramelizing?
When it comes to caramelizing, not all sugars are created equal. Granulated white sugar is the gold standard for its fine texture and consistent melting properties. However, for a deeper flavor, you might experiment with turbinado or demerara sugar, which have larger crystals and a hint of molasses. Just keep in mind, larger crystals take longer to melt, so adjust your technique accordingly.
Can Crème Brûlée be Made in Advance?
Yes, indeed! Crème brûlée is actually a fantastic make-ahead dessert. Prepare and bake your custards, then let them cool and stash them in the fridge. They’ll happily sit there for a couple of days. Just hold off on the sugar and caramelization step until you’re ready to serve. This way, you get that fresh, crisp sugar crust and the cool, creamy custard in every bite.
Part 6: Conclusion and Reflection
The Art and Science of Caramelization
As we wrap up our culinary journey through the world of crème brûlée, it’s clear that this beloved dessert is more than just a sweet treat. It’s a beautiful blend of art and science, requiring a dash of creativity, a sprinkle of technique, and a whole lot of love. From the delicate balance of ingredients in the custard to the precise heat needed to achieve that golden caramelized top, every step in the process is a testament to the wonders of cooking.
Making crème brûlée is not just about following a recipe; it’s about embracing the experience. It’s about the anticipation as you watch the sugar transform under the flame, the satisfaction of hearing the crack of the caramelized top, and the joy of sharing this masterpiece with friends and family. Each spoonful is a celebration of flavors and textures, a reminder of the simple pleasures in life.
So, whether you’re a seasoned chef or a curious novice, I encourage you to dive into the world of crème brûlée. Experiment with flavors, play with techniques, and most importantly, enjoy the journey. Because at the end of the day, cooking is about more than just the food—it’s about the memories we create and the stories we tell.
Thank you for joining me on this delicious adventure. May your custards always be creamy, your caramelization perfect, and your crème brûlées a source of endless delight.
And there you have it, a comprehensive guide to mastering the art of crème brûlée. I hope this journey has inspired you to explore the culinary possibilities and to create your own delectable versions of this classic dessert. Happy cooking.
Guide for More Recipes
The Essence of Crème Brûlée
Ah, crème brûlée! Just the name itself evokes images of elegance and indulgence. This classic French dessert, known for its rich custard base and contrasting caramelized top, has captivated the hearts (and taste buds) of dessert lovers worldwide. But what’s the story behind this culinary masterpiece?
For those intrigued by the fusion of flavors and culinary techniques, exploring the spicy chicken noodle soup guide might offer a delightful contrast to the sweetness of crème brûlée, showcasing the versatility of cooking methods.
Key Ingredients Explained
Diving into the world of crème brûlée, it’s essential to start with the basics: the ingredients. At its core, this dessert is a symphony of simplicity, relying on just a handful of components to create its iconic taste and texture. Let’s break it down, shall we?
For those who appreciate the importance of quality ingredients in their dishes, the guide on how to cook ribs in the oven at 350 can provide insights into how the right ingredients and cooking techniques can elevate a simple dish into a culinary masterpiece.
Preparing the Custard Base
Now, for the grand finale—the caramelization. This is where your culinary torch (or broiler) comes into play. Sprinkle a thin, even layer of sugar atop each custard. Then, with a steady hand and an even steadier flame, caramelize the sugar until it’s a beautiful, amber hue. Remember, we’re looking for that perfect balance between sweet and slightly bitter, so keep a close eye to avoid burning.
For those looking to expand their culinary repertoire further, consider diving into the ultimate guide to choosing sugar for crème brûlée, which offers a deep dive into how different types of sugar can impact the flavor and texture of your desserts.

